You may came here to get to know everything about how to build a strong, almost-indestructable vessel to support your mighty fleet of x-wing fighters. I have sad news for you. The transport has to die...
Bringing a ship to battle that - by design - not even fires a single shot is a gamble, but hey, it is the rebellion, isn't it? And the Rebellion is built on ...... Bright Hope... :)
So, after we are certain that we would win anyway (read this), it's high time to make that battle fun, and demonstrate to our enemy that we are not pushing the "cheating" A-Wing swarm to its farthest limit.
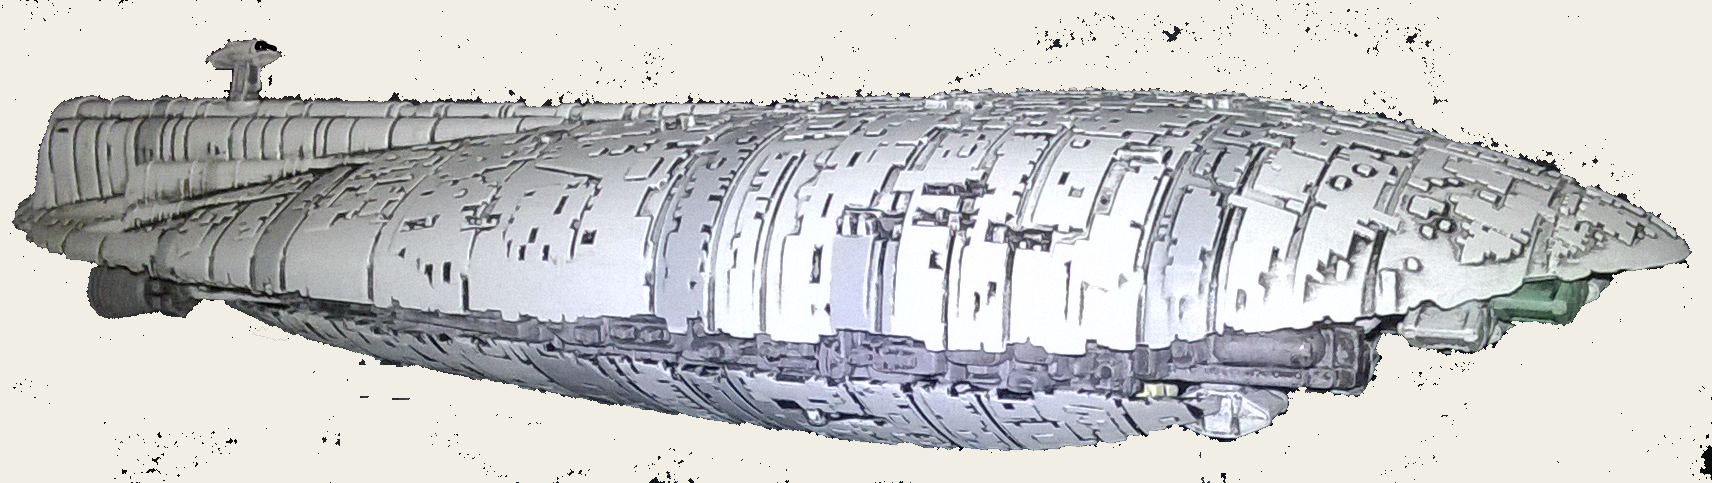
Rebel Transport, 8 hull + 4 shield, reinforce, recover, coordinate and jam, PS3 (make no mistake, it is like PS13!) (the ship's actions summarized at the end of this post)
How useful a ship can be when cannot shot? Imagine a 70-point setup... out of 300 points... You pack defensive upgrades up to the teeth (C-3PO, Chewbacca, Backup Shield Generator, Bright Hope Title, Combat Retrofit, etc. you ended up a heavy ship hard to shot at, and you succeed: no one will shot the ship). This ship is useless: you are left with a 230-point strike force. No free action, no jamming, no crew or cargo could justify it, but more important, you are running out of offensive options when the ship is full with defensive stuff. (No, not even the loaded slicer tools could justify it...). So, we are at a 60+ point ship that no one wants to shot at, and a weak squad of smaller fighters. That is not the way victory could coming...
How about at 60-point? 50? 40? Let's be 40 or below.
The stock vanilla GR-75 is 30, so let's try to find useful upgrades to it: cheap, passive tools, that worth to use and worth to destroy as well. Why? Its main roles in our battle line are: (1)distracting fire from our other, more competent ships, (2) threaten to run over enemy ships, and therefore sheperd their ships into wrong position or direction (3) help our team (coordinate) or jamming the enemy (yes, jam!).
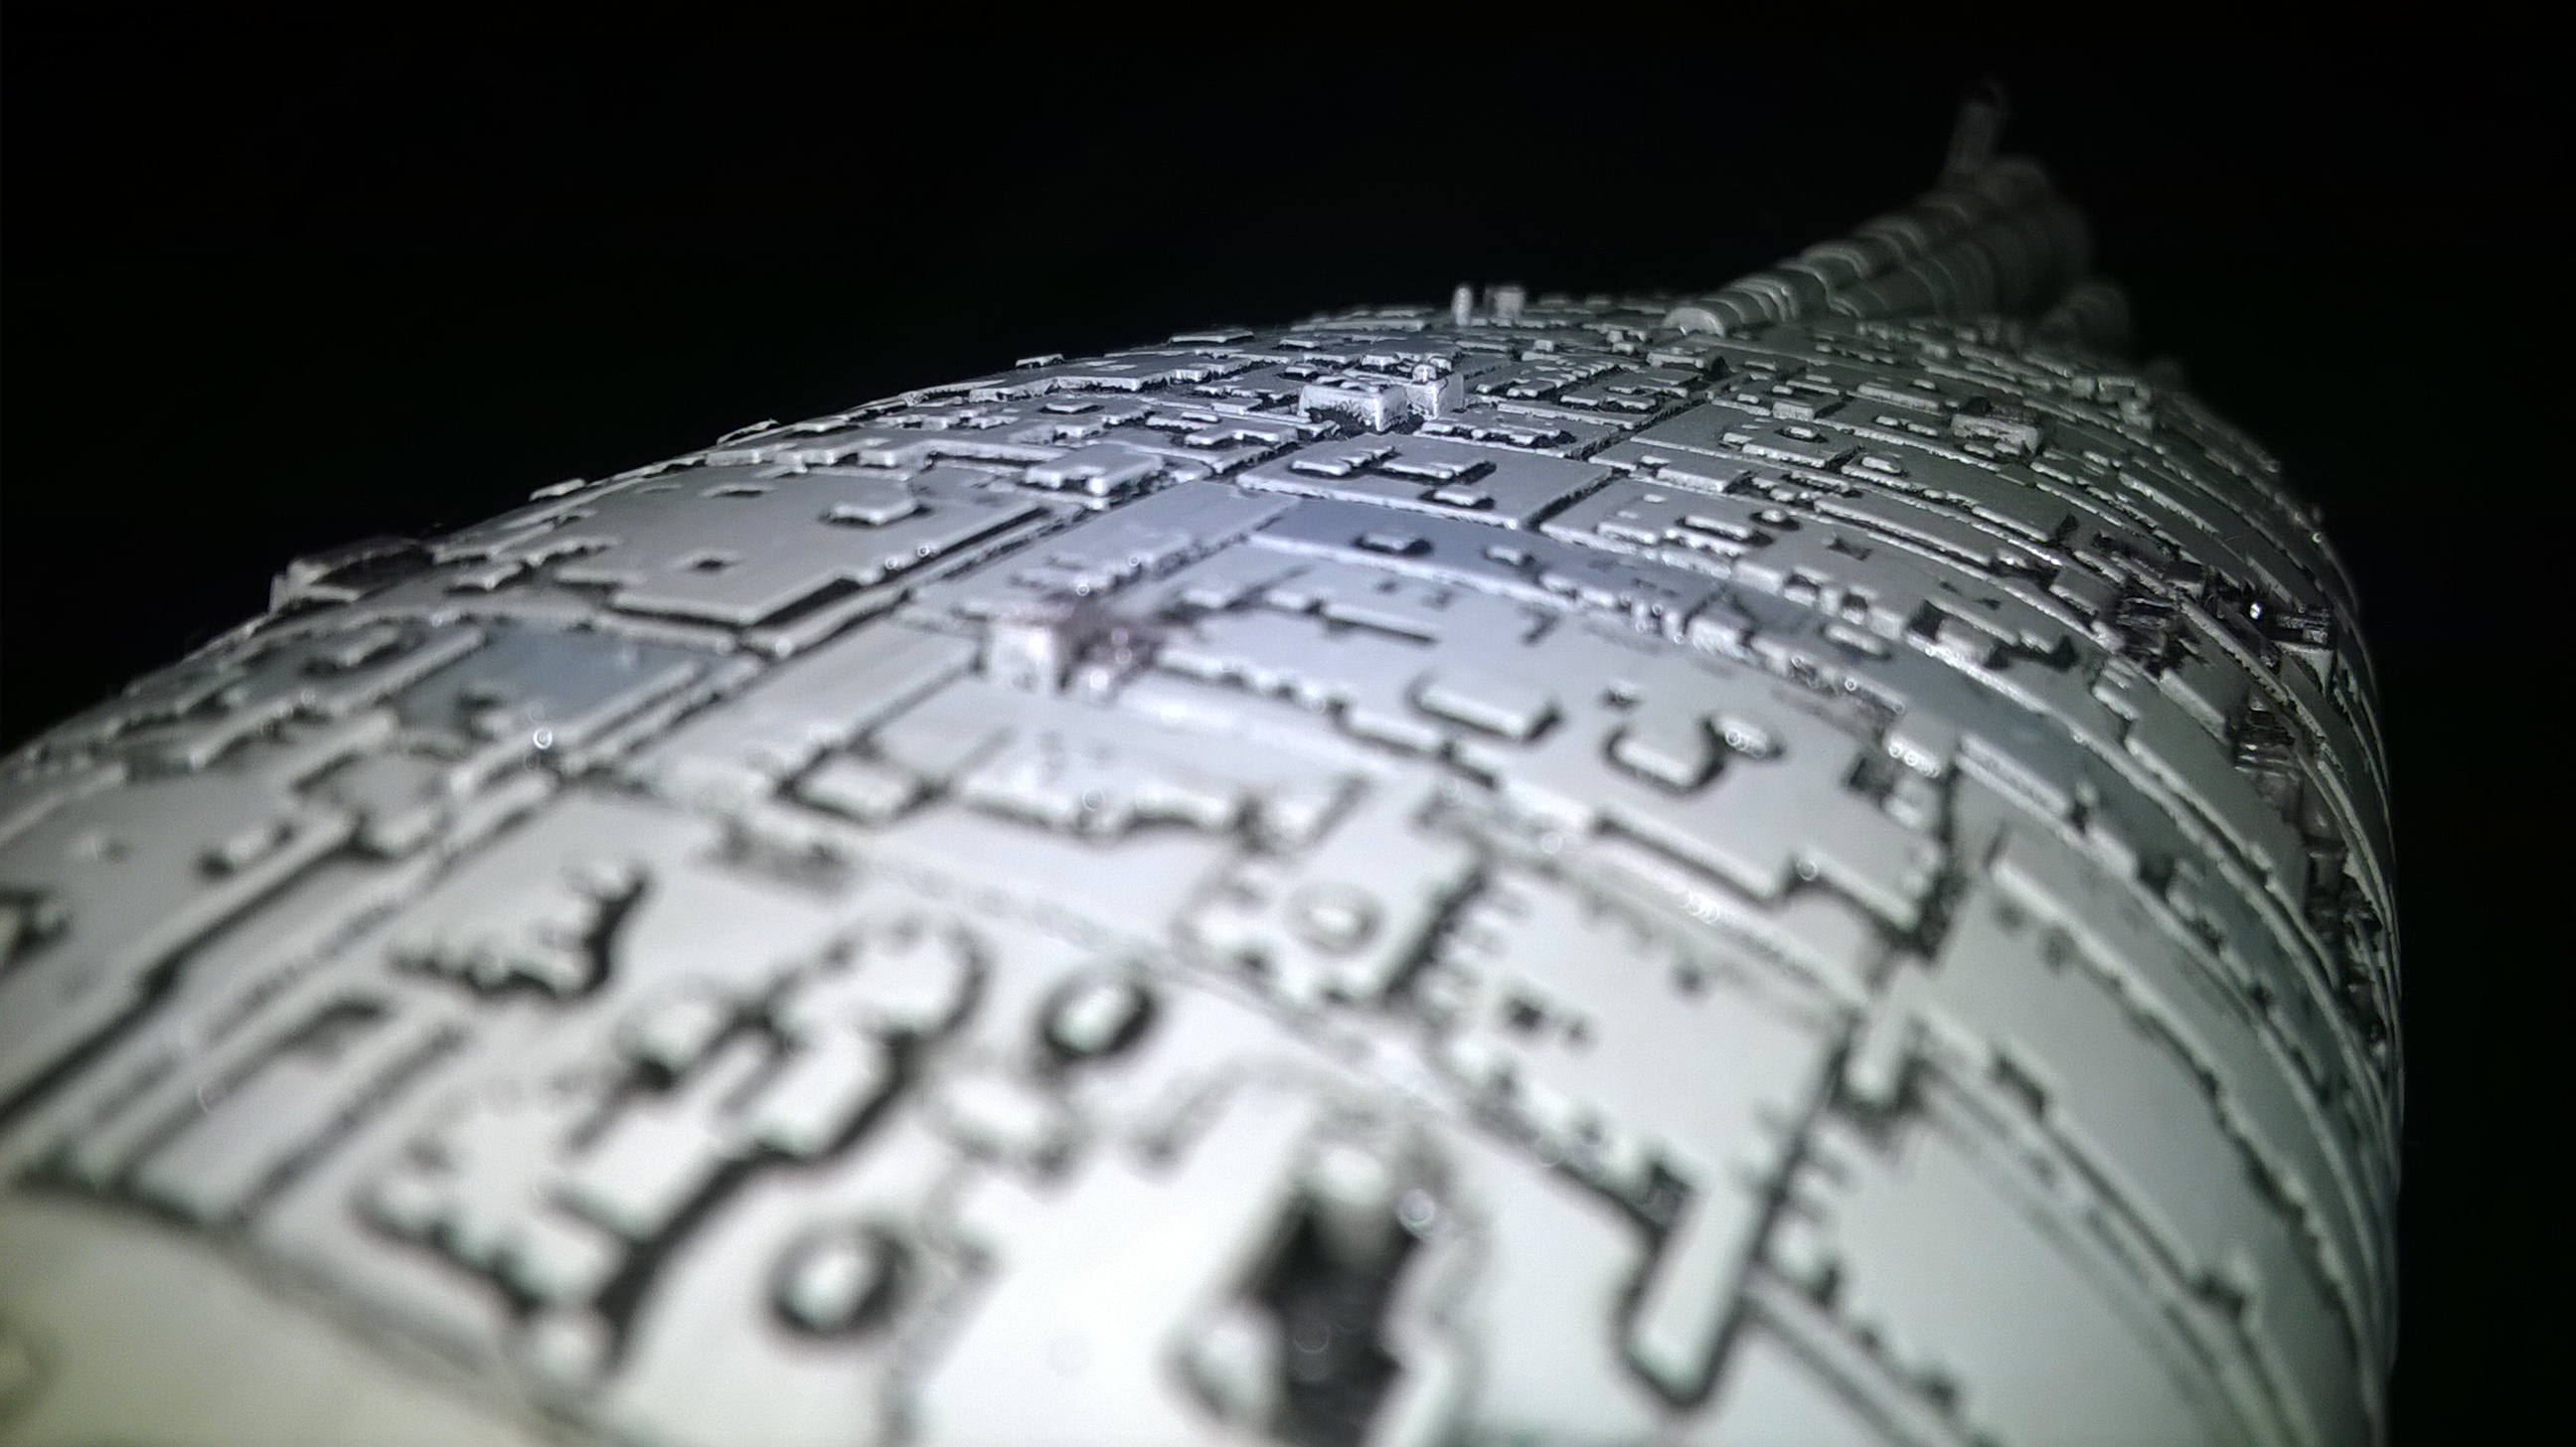
Yes, the main role is to distract shots from ships that can fire: such a shot is wasted by the enemy (because it won't reduce the number of our attack dice). Attacking the reinforced fore section to destroy this ship needs almost five 4-hit shot! Five! (e.g. from every 4-hit attack, 1 hit is negated by the reinforce, so 3 could go by, and it needs 4 of such an attack, without any blank attack dice. It is very possible, that out of 16 rolled, re-rolled, modified and focused dice, at least 1 blank appears at the end of the process, that makes a 5th attack necessary). What about 3-dice attacks (when 2 passes the reinforce token)? It needs 6+ attacks. So we can count on that this ship can distract 5 attacks. (An average untouched 300-point enemy team has about a 12-shots-per-round capability, give-or-take. Wasting 4 or 5 of them is a big deal.)
So, how can we setup such a vessel?
Modification
Combat Retrofit: +2 hull, +1 shield, costs 10 points (equals exactly to 2 hull upgrades and 1 shield upgrade). This would buy 1 more 4-point attack to bear. I wouldn't recommend it, because +10 ponits not worth one more shot, and what is more important, this occupies the one modification slot that makes this ship a really useful one:
Automated Protocols: +1 action, costs 5 points. This one allows to always reinforce (or ocassionally recover, but it is always hard decision) and make some useful action around "PS13" (after every smaller ship moved): coordinate or jam. This is the upgrade we are looking for!
Title
Dutyfree: jamming is not so useful at large distance (when blocking jammed ships cannot be done), and current environment has many ways for a ship to get rid of 2 stresses per turn. So the Range3 jamming is not worth it.
Quantum Storm: useful if energy-management is a concern (with cargos that use energy), otherway it is expensive.
Bright Hope: too good. How can I say that? :) Our main priority is to invite enemy shots, remember? 2 reinforces discourages enemy to shot at the GR-75 (because makes them more than six 4-hit shot to waste on it to destroy). Sorry, Jyn, Rebellion's Transport is not built on Bright Hope!
None of them is a must-have.
Sidenote
What about building an expensive transport? The more expensive the transport, the more point it soaks from your other - fighting - ships: the enemy has to deal with less ships that block and shot, so their best tactic is to avoid the transport, kill the others, and at the end, kill the transport with the end-game ships that the enemy has and doesn't have counter... So, in paper, +2 reinforce is great, helping the transport alive, but an untouched transport alone in the endgame doesn't help you. So, "its a trap"! It dies anyway at the end...
Cargo
It is hard to say, that a lot of cargo could be usefull, tricky and fun, but I not recommend equipping them, due to their cost. Lets go one-by-one:
Expanded Cargo Hold: would be useful for Raider or Tantive to help spread the incoming damage but not so much for GR-75 (but this upgrade is GR-75 only...).
Quick-release Cargo Locks: fun.
Backup Shield Generator: useful a bit, but discourages enemy to shot at the ship.
EM Emitter: useless. Maneuvering your ships to use it is hard like hell, and even if you succeed a bit, then other ships that are not covered are attacked, or the transport is attacked instead. Neither way is useful.
Engine Booster: fun.
Supercharged Power Cells: only for ships that shot.
Cluster Bombs: harms friendly ships, too. Hard to make it work in the chaos of the battle. Not worth it.
Comms Booster: a kind-of-coordinate, but better range, use 1 energy (not an action), and cleares all stress from the designated ship. Can be good, but expensive.
Frequency Jammer: jam enhancer, expensive.
Ionization Reactor: damage and ionize all ships at range one. If this is your only hope, then you are lost.
Shield Projector: hard to use. For a cheaper work cost (let's say, 1 energy) would be useful, but not for 3. (Won't cooperate with EM emitter, because this works with small or large ships, not with huge ones.)
Tibanna Gas Supplies: if we don't have tools that using heavy energy input, then we don't need it.
Slicer Tools: waste of squad points, expensive as hell. At least Range 1-3...
No cargo is suitable to our goals (useful and cheap).
Crew
(without analyzing every possible crew member, I just mention the best candidates for a cost-effective transport setup)
Breach specialist: it's a dude crew. It wouldn't be bad if no other 1-point crew would be suitable. But it's not the case...
Inspiring Recruit: the same as above...
Intelligence Agent: get to know your most dangerous adversary's maneuver is big deal! Easy blocking by your (other) ships, can be played to block enemy in the path of the transport, or at least leave the bumped ship tokenless. Low-cost upgrade, huge impact.
Cassian Andor: Intelligence Agent++.
Shield Technician: needs recover, but we loose reinforce that case. If we want to recover, I see no problem spending all of our energy... So, not worth it.
Jan Ors: meh... in epic, no ship is saved by one more evade... If you need to rely on it, your squad is weak.
Sabine Wren: awkward...
Saboteur: could be fun, but needs a precious action. Skip it.
WEB-15 Repair Droid: Avoid it. It needs an action and energy. By the time you want to use it, it's too late: you want to repair damage, recover shields and reinforce. Pick more useful crew to avoid this indecisiveness.
C-3PO: here comes the expensive stuff... good, but we need the enemy to shoot the transport, and C-3PO discourages it, until it's the only target. After then, it doesn't really matter, whether C-3PO is equipped or not...
Carlist Rieeken: I haven't see anyone to equip him. I wonder why...
Construction Driod: you won't recover when you can reinforce, do you?
Kanan Jarrus: useful, but we may have better crew to equip.
Operation Specialist: we can provide bumped, Deadeye-ed ordnance carriers focus this way! Shot with a ship that doesn't really needs to hit (e.g. with an A-W, at Range 3 a tokened-up interceptor... yes, with 2 dice... don't spend focus...)! If it hits, its great! If it misses, then assign a focus to an other ship that really needs that focus! That is our crew!
Chewbacca: same as C-3PO. Cost-effective, but we need better crew.
Flight Instructor: C-3PO or Chewbacca is better to make less damage. You very rarely roll any defence die.
Hotshot co-pilot: discourages attack on the transport.
Leia Organa: telling the enemy that massive K-turns are coming. That's not the way winning battles.
R2-D2: like C-3PO.
Targeting Coordinator: one action-free Target Lock per turn, we could
Jan Dodonna: the Range 1 limitation really hurts, and expensive as hell.
Raymus Antilles: a kind-of-jammer/Intelligence Agent. Expensive. Makes the ship primary target.
Toryn Farr: fun! She would make the transport primary target, but the energy management needs to be build to use her skill properly. Wouldn't fit into a cheap ship.
So, here we are:
GR-75 Medium Transport (40)
GR-75 Medium Transport (30), Cassian Andor (2), Operations Specialist (3), Automated Protocols (5)
That is it.
Use Cassian Andor every time if possible (end of Planning Phase), then use this info, e.g. use your other ships to block enemy in the path of the transport, to overrun them. Coordinate or jam (whichever the more useful*), then use the Automated Protocols to access a second action: reinforce, if enemy shooting is imminent**. Don't forget to use Operation Specialist: keep some of your ships within Range 2.
* when facing a mindlinked enemy, jam is very potent.
** if shields need to be restored, and if attack is not imminent, or you expect approximately 3 attack dice throwing at you at max in the whole turn, then you should recover instead - calculate energy beforehand to evaluate this effect. The Automated Protocol's 1 energy usage may interfere with it...
If you rarely command huge ships, then, before battle, practice huge and smaller ships maneuvering together, otherwise that will be the shortest offensive of all time! (credit goes to Lando).
I really mean it.
How to setup to the battlefield/battlespace/battleline battle?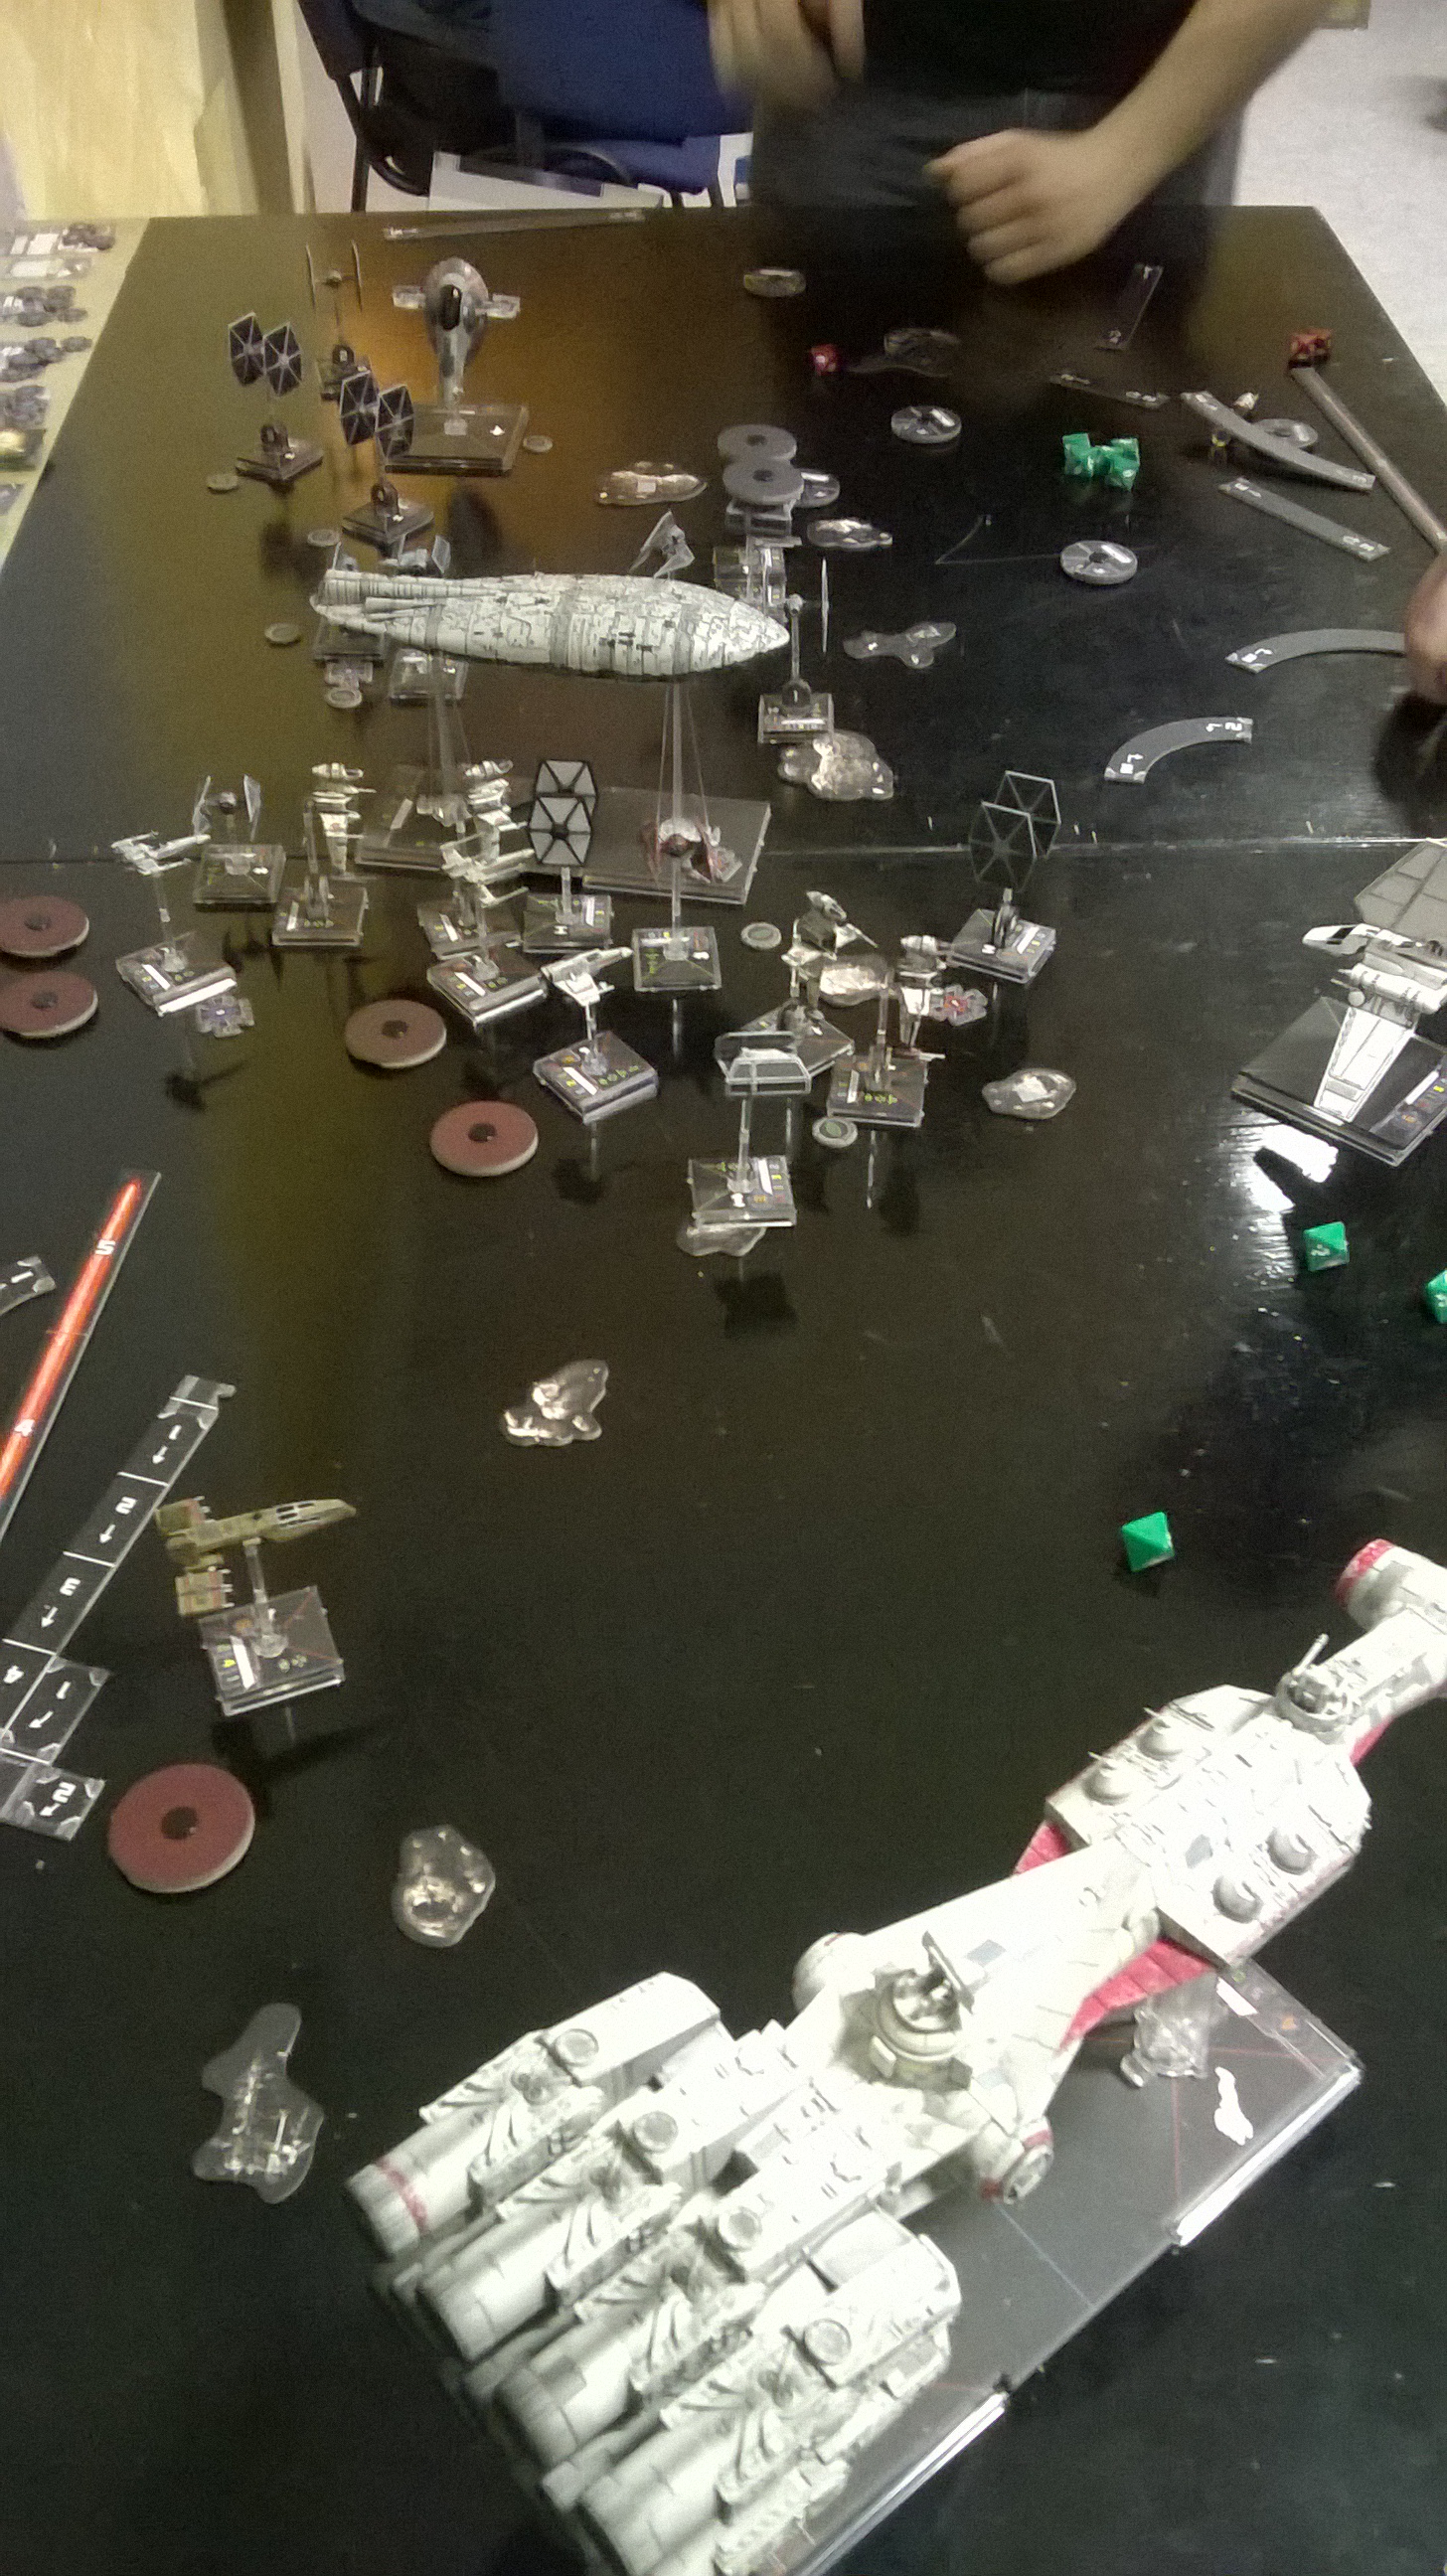
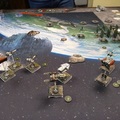
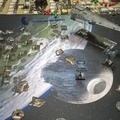
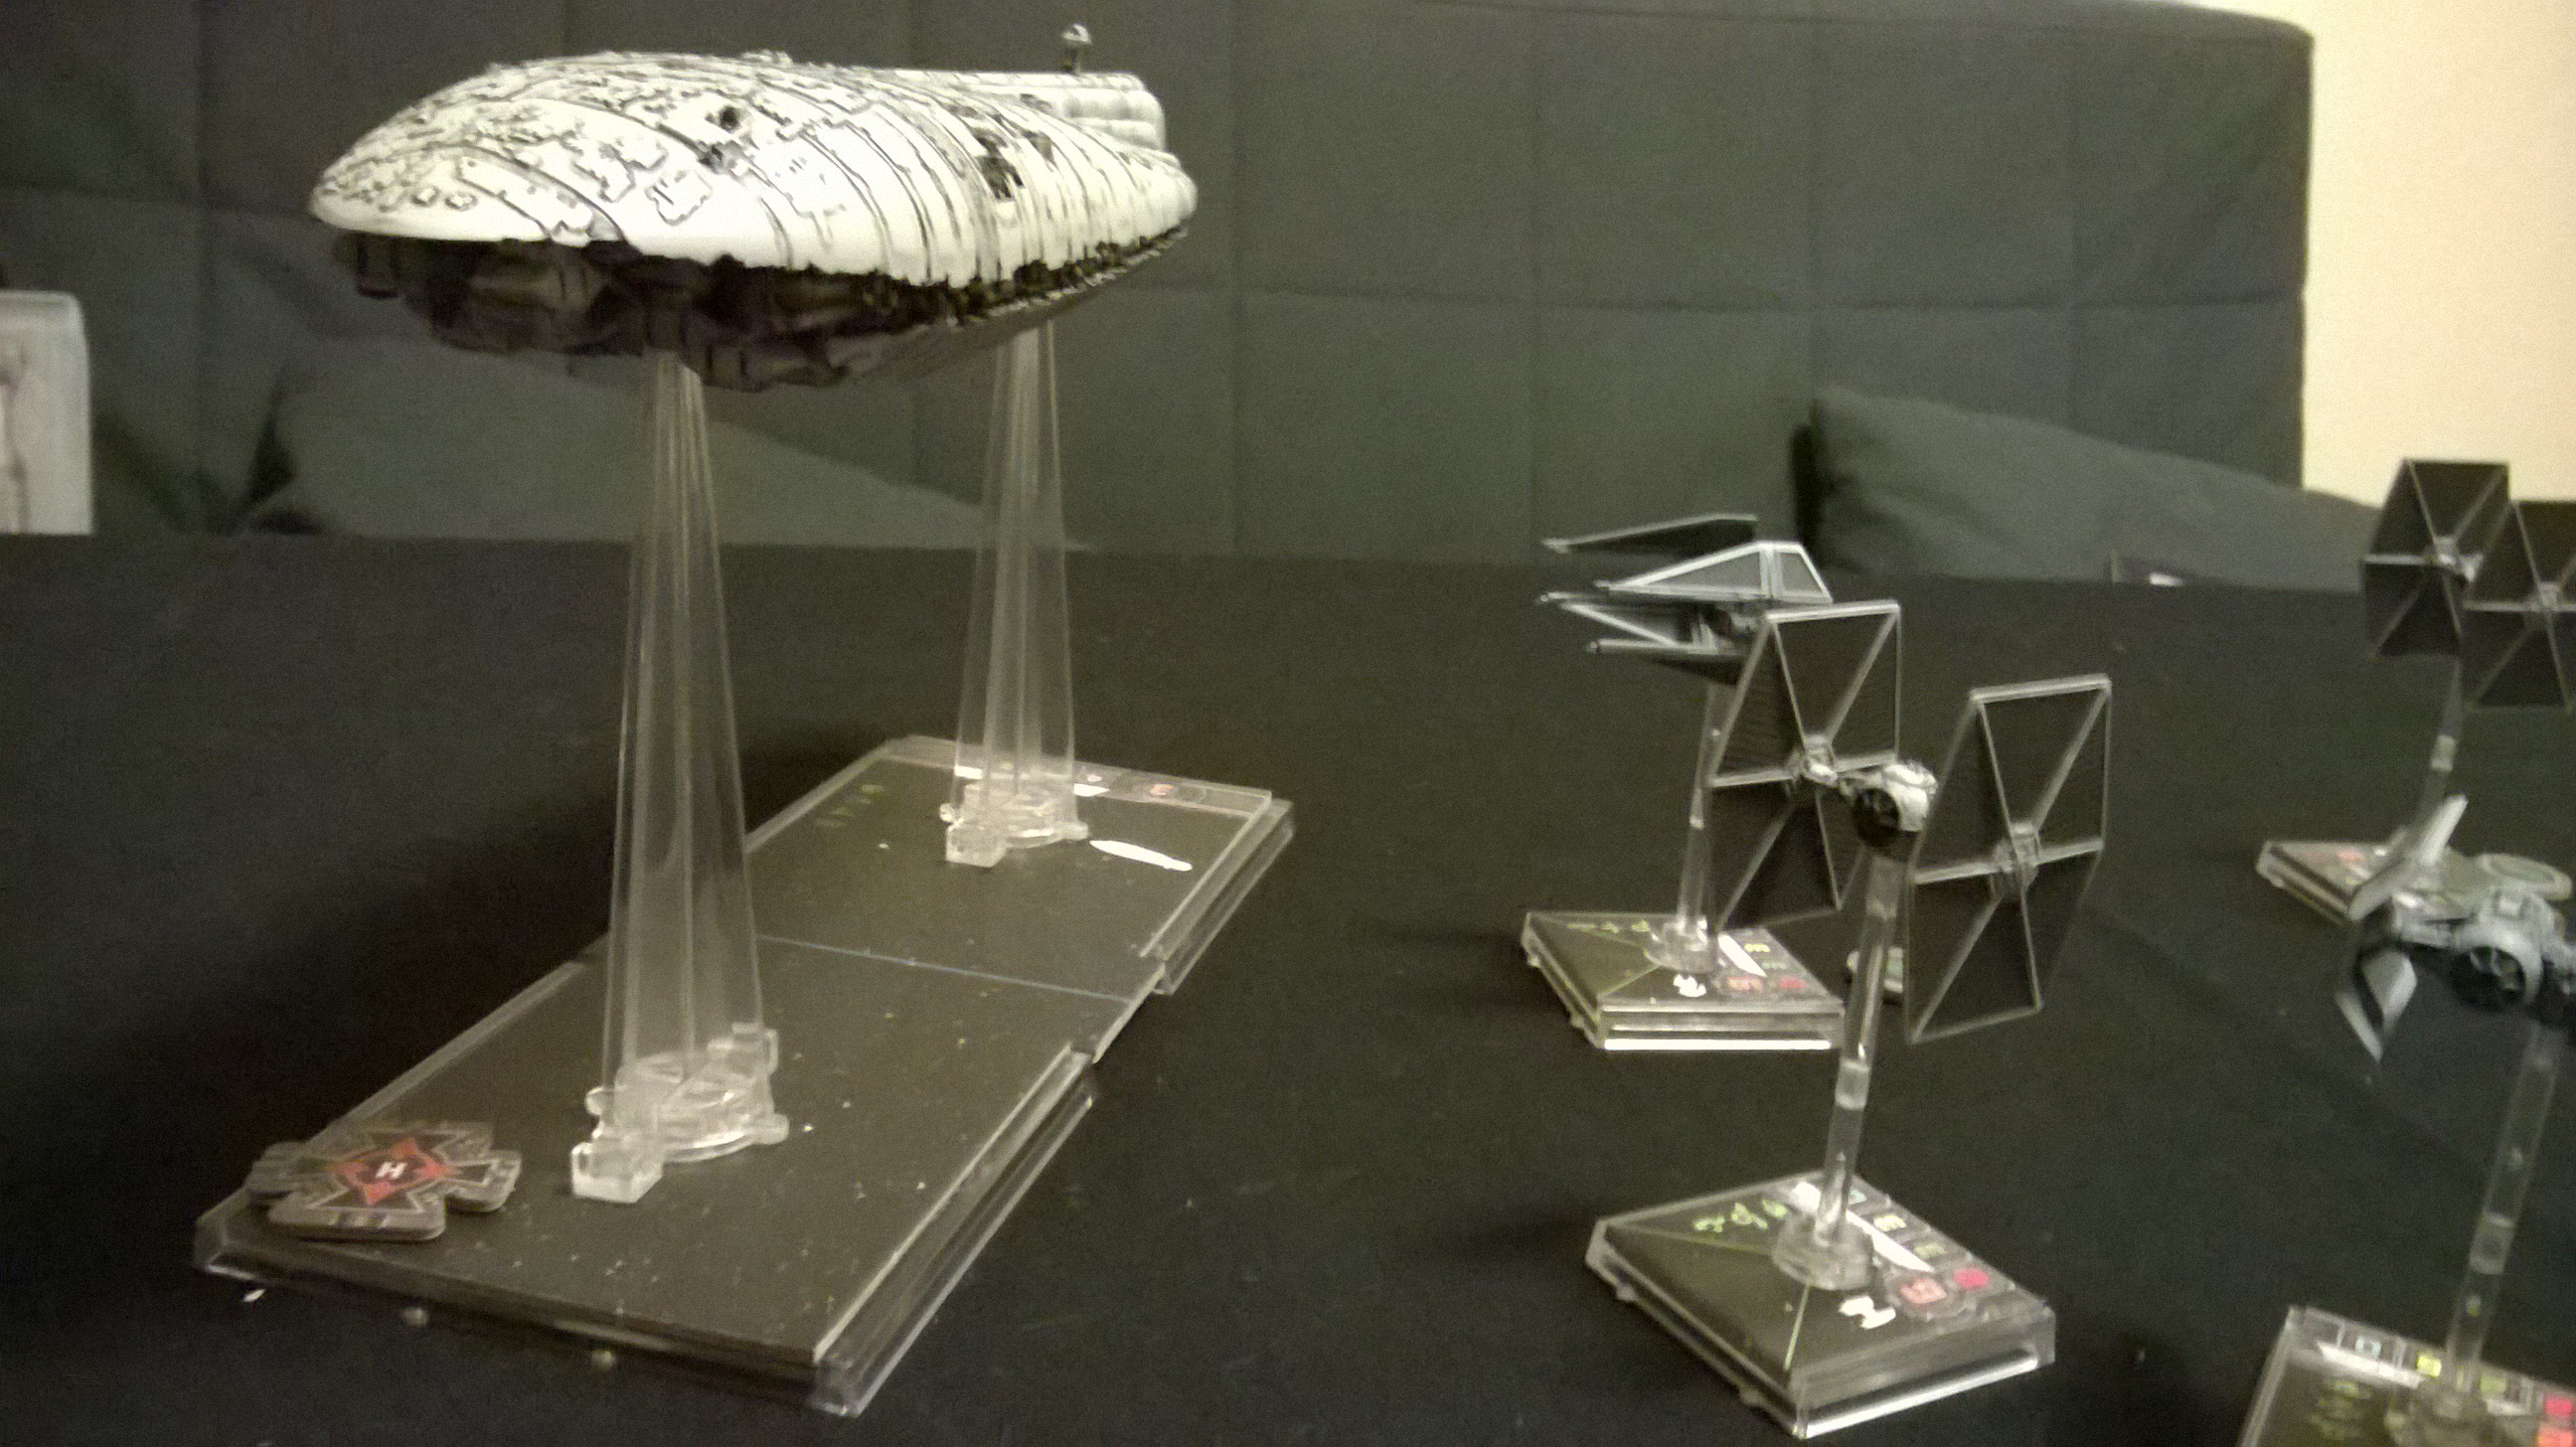
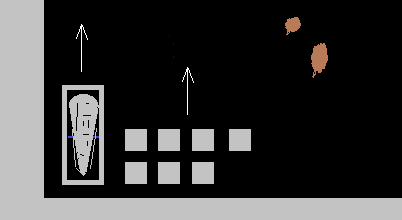
How-not-to: see the picture in the right... This setup indicates massive self-bumping, and limit the maneuverability of your ships.
Instead, near the side, 0.99 small bases away from it. The other ships should be placed at the other side of the ship, starting from 0.99 small base distance (enemy ships should not fit into the gap). You can take both blank movements (1&2) without the transport's aft sliding out of the play area, just double-check the direction...
I hope it helps a bit. (You know, rebellion built on...)
********************************
Coordinate: choose another friendly ship at Range 1-2. That ship may immediately perform one free action.
Jam: choose one enemy ship at Range 1-2 and assign Stress tokens until the ship has 2 total stress tokens.
Recover: remove all energy tokens from the corresponding ship card. For each energy token removed, the ship can recover one shield, up to its maximum shield value.
Reinforce: place one reinforce token next to either the fore or aft section of the ship. A ship with a reinforce token that is defending adds one Evade result to its defense roll, but only for the section to which the reinforce token is assigned. The reinforce token stays on the ship until the end of the round, and therefore can be used to defend against multiple attacks.