[Edited, 2018.01.26.]
The published Epic Variant Regulations (published: 2018.01.18.) rendered some of this article's bases and conclusions obsolete.
Since this aforementioned discussion is almost 3 years old, and searching through the web shows no other relevant (public) hits, I feel the intention to set the bar for this. (Please keep in mind, that this article is written in july, 2017, so wave XI just hit the shelves. Some future expansions may alter the conclusions.)
My personal background: I started to play X-Wing in 2014, and attending local (Hungarian, Budapest) contest regularly from 2015, although with not a striking success. As many of you, I usually play 100 point dogfights, and I play 10+ times a year 300+ battles, too. I started playing epic in 2014 as well, when me and my friend grab as many ships as we have, and played a 345-vs-331 points big battle between the Empire and the Alliance. I can't remember, who wins...
The first battles were just random selection of pilots set against each other, and always culminated into a mass-chaos, until a lot of ship is going down.
Then we read articles about this, and Etahn A'bath hit the skies! Accompanied with the mighty Tantive and a bunch of B-Wings (and with some filler ships), they sometimes win, sometimes loose. In those misty times, Roark Garnet joined them, and the win rate rised a bit: Roark usually made the corvette PS12, that was a huge advantage, althoug does not guarantee an auto-win. The big thing struck me last year, and changed the epic forever... in the whole Universe! - I mean, in Budapest (Hungary)...
Epic game, 400 points per side.
This is the puzzle: epic game is usually a big mess, big variety of ships, you can't count on meta usually. Fat ships, agility defended ships, (agility defended fat ships - IGs), high PS, low PS, mid PS, everything. What to do to handle everything?
And the solution is: in this environment, shooting first(1) with a lot of(2) ships hard(3) is key.
(1) First... do I mean at PS 9...? No! I mean at 12! So, that binds us to the Rebels and Roark Garnet (HWK).
(2) To fire at PS12 with a lot of ships, we need Swarm Tactics on them. A lot of ships calls for smaller (in point-wise) ships, and not the 40+, 50+ point big ones. If we can shot twice that many hard PS12 attack, that is quite an advantage, huh? So, trying to make those ships under 30.
(3) What is hard? 3-dice primary...? Neah... 4-dice secondary... that leads to HLC or ordnance... Which one is better? Which one could be made best over the other? For one shot, the ordnance is better in cost-effective-ness. With the must-have 0-cost Guidance Chips.
Why?
What is the expected result of a 4-dice attack (without focus, because we have to shot the ordnance with a Target Lock or a Focus)? Approximately: 2 hits, a focus and a blank. What can make it solid, almost-4 hits constantly?
Using Concussion Missile, the average roll culminates a 4-hit dice result. The Concussion Missile is a monster in this fight! If you roll 3 blanks, then you end up at a 3-hit dice result. (Wait! You need sometimes additional focus to achieve this! - There is a short-hand solution for this: Esege with Recon Spec.)
Is it getting interesting? Name any other weapon, that resulting 3 hits, when you rolled 3 blanks... :) (Ok, the Advanced Proton Torpedoo, but you have to be at Range 1 - at your first fire-exchange... difficult...) If you roll anything that is better than 3 blanks (even an additional single focus helps), that results 4 hits (sometimes with crits - I discuss this later...).
How to fire those Concussion Missiles? In epic battles, the Target Lock is very binding... hard to get on a higher-PS ship, and very unflexible: when the target is destroyed or goes out-of-range/arc, you need to shot the next best target. And how many TLs are enough for a target? So, here comes the Deadeye! Hey, Swarm Tactics already used up the elite pilot talent slot! What a.....? A-Wings!!! A-Wing Test Pilot title gives us this combo, no other ship capable of this...
Where are we now? - the core of the squad
Roark Garnet
Esege Tuketu, Recon Specialist
Green Squadron A-Wings, A-Wing Test Pilot, Swarm Tactics, Deadeye, Concussion Missile, Guidance Chips (8-12 ships, 26 point each)
Tailoring the final squad
Backup pilots needed to keep up a higy-PS swarm-chain in case of Roark is killed: one or two PS8-9 pilot would do (if the enemy had PS8-9 pilots, then those are priority targets from the beginning).
Etahn A'bath is a big addition to this fleet, too! After enemy shields are down, free crits for everyone! He fits into our list smoothly with Swarm Tactics and (the second best fitting ordnance, the) Proton Torpedo with Guidance Chips. One thing is missing: he needs a TL to shoot (without Deadeye). It turns out that his best friend is Airen Cracken! After Airen shots, he can make someone to make a free action - this time, Etahn can TL someone, during the combat phase. Airen should be equipped with Swarm Tactics, and optionally Concussion Missile and Guidance Chips.
There is a debate whether Etahn and Airen shuld be equipped with ordnance, because these weapons make them valuable targets and attracts attentions. I prefer give them, because if they can fire those ordnance at PS12 in the first fire-exchange, hence, from that point they are just as valuable targets as they are without ordnance. This case, Airen should have a TL on its own, but hey, he is PS8, some target can propably TLed at PS8, right?
An Operation Specialist - or two - can really help, when bumping occured with not-yet-fired ordnance, or later rounds, when collission with the enemy is imminent, and everyone bumps everyone. Hey, there is a free seat in Roark's HWK! :)
Equip ships with TLT to fill remaining points (6-12-18), but leaning towards them is slowly eliminate the "hitting hard first, cost-effective" value.
This far:
Roark Garnet, Operation Specialist, TLT (28)
Esege Tuketu, Recon Specialist, TLT (37)
Airen Cracken, Swarm Tactics, Concussion Missile, Guidance Chips (25)
Etahn A'bath, Swarm Tactics, Proton Torpedo, Guidance Chips (38)
Green Squadron A-Wings, A-Wing Test Pilot, Swarm Tactics, Deadeye, Concussion Missile, Guidance Chips (10 ships, 26 point each = 260)
--Total: 388
Let's see the options for that 12 points:
-if a huge ship is required, then let it be the Rebel Transport (see below), discarding 1 A-Wing.
-if a larger huge ship is required, then assemble a Corvette for 116 or 142 points (discarding 4 or 5 A-Wings).
-find a useful ship for 38 points, discarding 1 A-Wing. ....and the winner is.... there you go.... Dutch Vander.... WTF? Or Horton Salm! Equipped with Proton Torpedo, Extra Munitions, Guidance Chips, R2-D6, Swarm Tactics. Horton tops at 34 points, Dutch tops at 32, or with TLT, 38 exactly. Pros for Dutch: collaborate nicely with Airen (fits well between Airen and Etahn in the free-action chain: could pass free TL at PS12). TLT. Cons: PS6 only.
Pros for Horton: strong pilot ability and strong PS8 (to start or re-start high Swarm Tactics chain, can be a plan B after Roark is passed by...). 4-point initiative bid, or with Dorsal Turret. Cons: no free TL for squad-mates, no TLT. I prefer Dutch here by a very little margin, but feel free to choose one of them!
Final recommendation:
Roark Garnet, Operation Specialist, TLT (28)
Esege Tuketu, Recon Specialist, TLT (37)
Airen Cracken, Swarm Tactics, Concussion Missile, Guidance Chips (25)
Etahn A'bath, Swarm Tactics, Proton Torpedo, Guidance Chips (38)
Dutch Vander, R2-D6, Swarm Tactics, Proton Torpedo, Extra Munitions, Guidance Chips, TLT (38)
Green Squadron A-Wings, A-Wing Test Pilot, Swarm Tactics, Deadeye, Concussion Missile, Guidance Chips (9 ships, 26 point each = 234)
--Total: 400
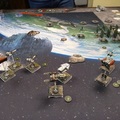
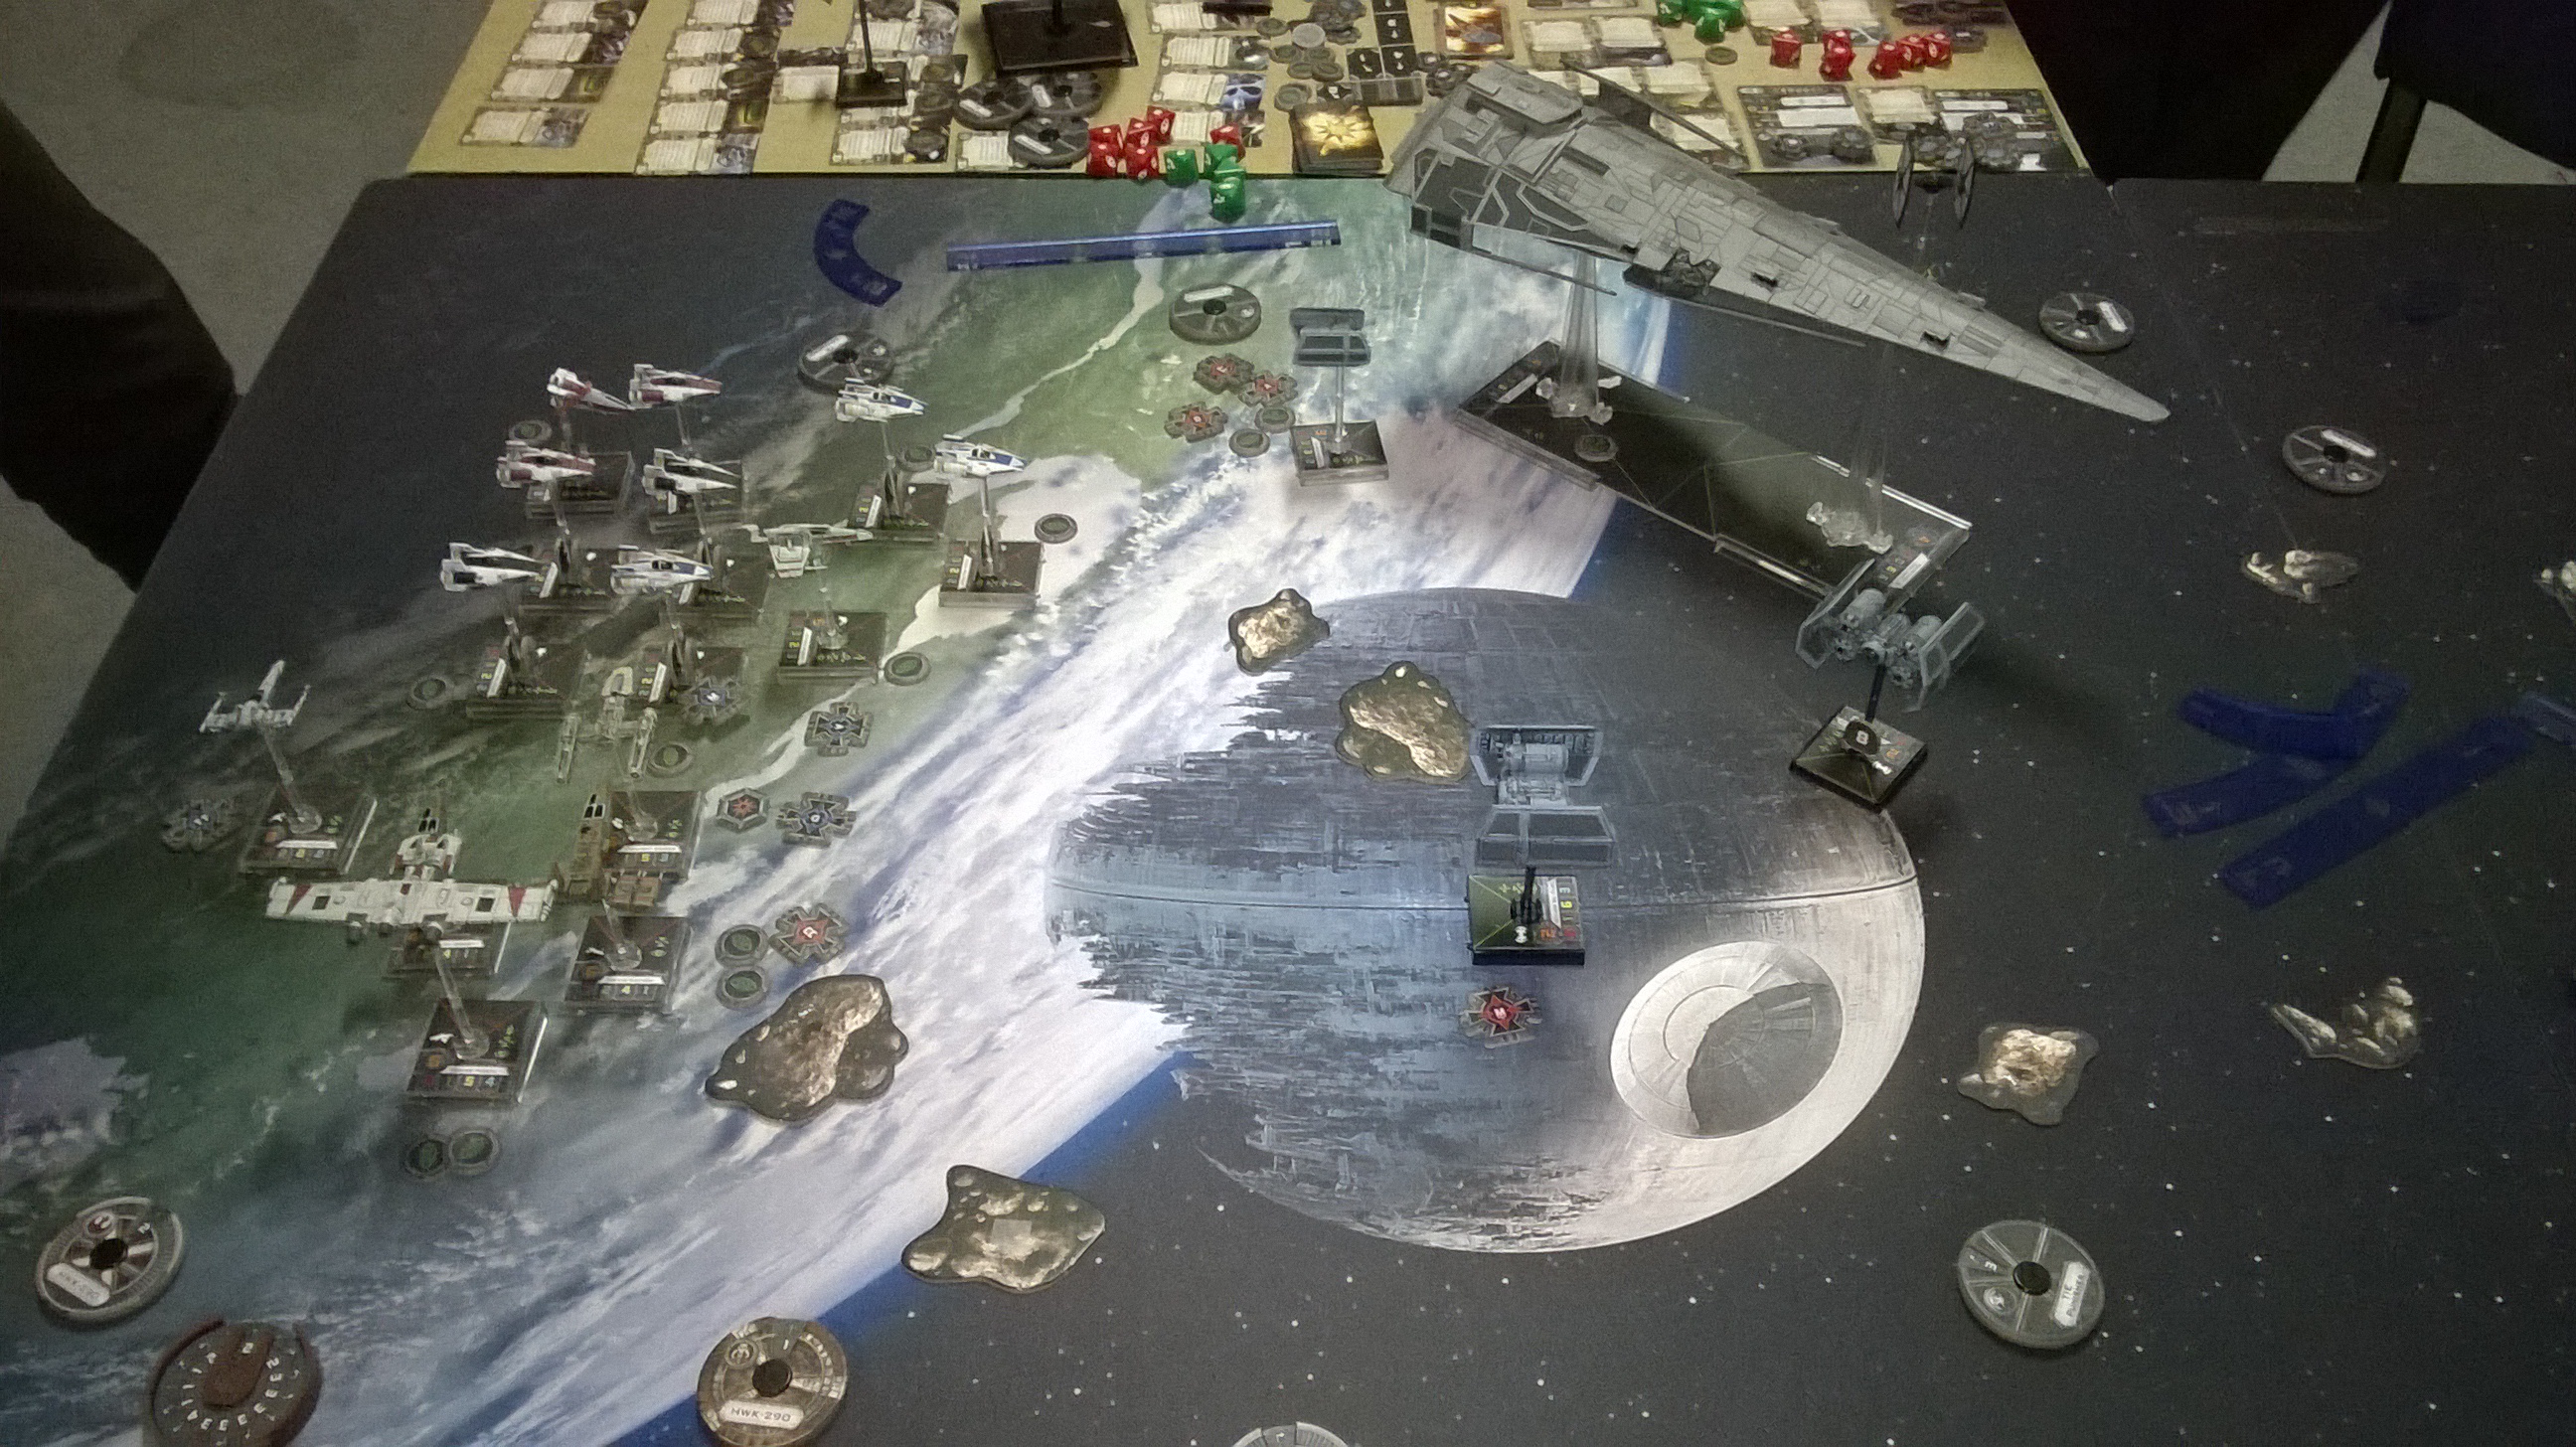 [ Unprepared enemy struggling against this kind of list - after the 2nd round Soontir, a Decimator and other minor Imperial ships already lost ]
Huge ships
If no huge ship is required to build into, then this squad is stronger without it. If there is required, without any other requirements, then I suggest using a cheap Rebel Transport ship (with Operation Specialist, maybe with Automated Protocol - 33 or 38 points) - leave Dutch Vander and use the Transport instead.
If more than that is required, then bring a well equipped corvette(subject to an other article), place it to the end of the PS12-swarm chain, and make it PS12, too. (If huge ship is required, make sure that you practice flying/formation flying with them, to keep Swarm Tactics' Range 1-distance, without running over your own squadmates.)
Countering this squad
None, yet.
(Ok, these come up:)
-the same squad (maybe with minor tweeks or some init-bid points), plus a special ship that can kill Roark in the Action-phase, before making PS12 the whole squad (I have no idea yet... a squadron of fast snap-shots ships...?)
Priority targets (in this order): enemy Roark Garnet, ships that can shot our non-A-Wings, prominent support ships (e.g. Howlrunner, Serissu, Captain Jonus, or ships equipped with Operation Specialist, etc.), PS8-9 ships (aces), area-attack ships (equipped with bombs or assault missile), ships with heavy damage capabilities (e.g. Ghost, Raider, Corvette).
Setup: obstacle and ship placement, enemy attack tactics and considerations (subject to an other article)
Other things to consider
Maneuvering without bumping is essential to fire ordnance.
Practice formation flying. Practice formation flying! Practice formation flying!!!
For the first fire-exchange, don't let enemy ships come to bumping distance (e.g. with boosting large-base ships or with SLAMing ships), or be prepared for that with loose formation flying.
What am I missed? Can anyone suggest a viable counter to this?

